

The Ultimate Guide to Mailchimp Discount Codes for Shopify Merchants
As a Shopify merchant, you know the importance of staying competitive and offering promotions to your customers. One simple and effective way to do this is by sending individual discount codes to your subscribers via Mailchimp. Not only does this allow you to target specific customer segments with personalized offers, but it also helps to drive sales and build customer loyalty. In this blog post, we'll walk you through the quick and easy process of uploading and sending individual discount codes to your Mailchimp subscribers. By the end of this guide, you'll have all the tools you need to start using discount codes as a powerful marketing tool in your e-commerce business.
Generating discount codes
The first step in the process of sending individual discount codes to your subscribers is generating the codes themselves. If you want to create a store-wide discount code that can be used by any customer, you can do this directly through your Shopify store. Simply go to the "Discounts" section of your Shopify dashboard and click "Create discount." From there, you can set the details of your discount, including the code itself and the discount amount.
However, if you want to create unique coupon codes under the same discount that is only available to specific customers, you'll need to use a third-party app as Shopify does not have a built-in feature to support this.
Bulk Bunny Bulk Bulk Discount Codes can be a great solution. With Bulk Bunny, you can generate one-time-use discount codes quickly and easily. The app also comes with a number of useful features, including generating up to 500,000 unique coupons per hour. Additionally, Bulk Bunny allows you to import and export your codes with ease, and its blazing-fast speed makes it the ultimate choice for an efficient way to create and manage unique discount codes.
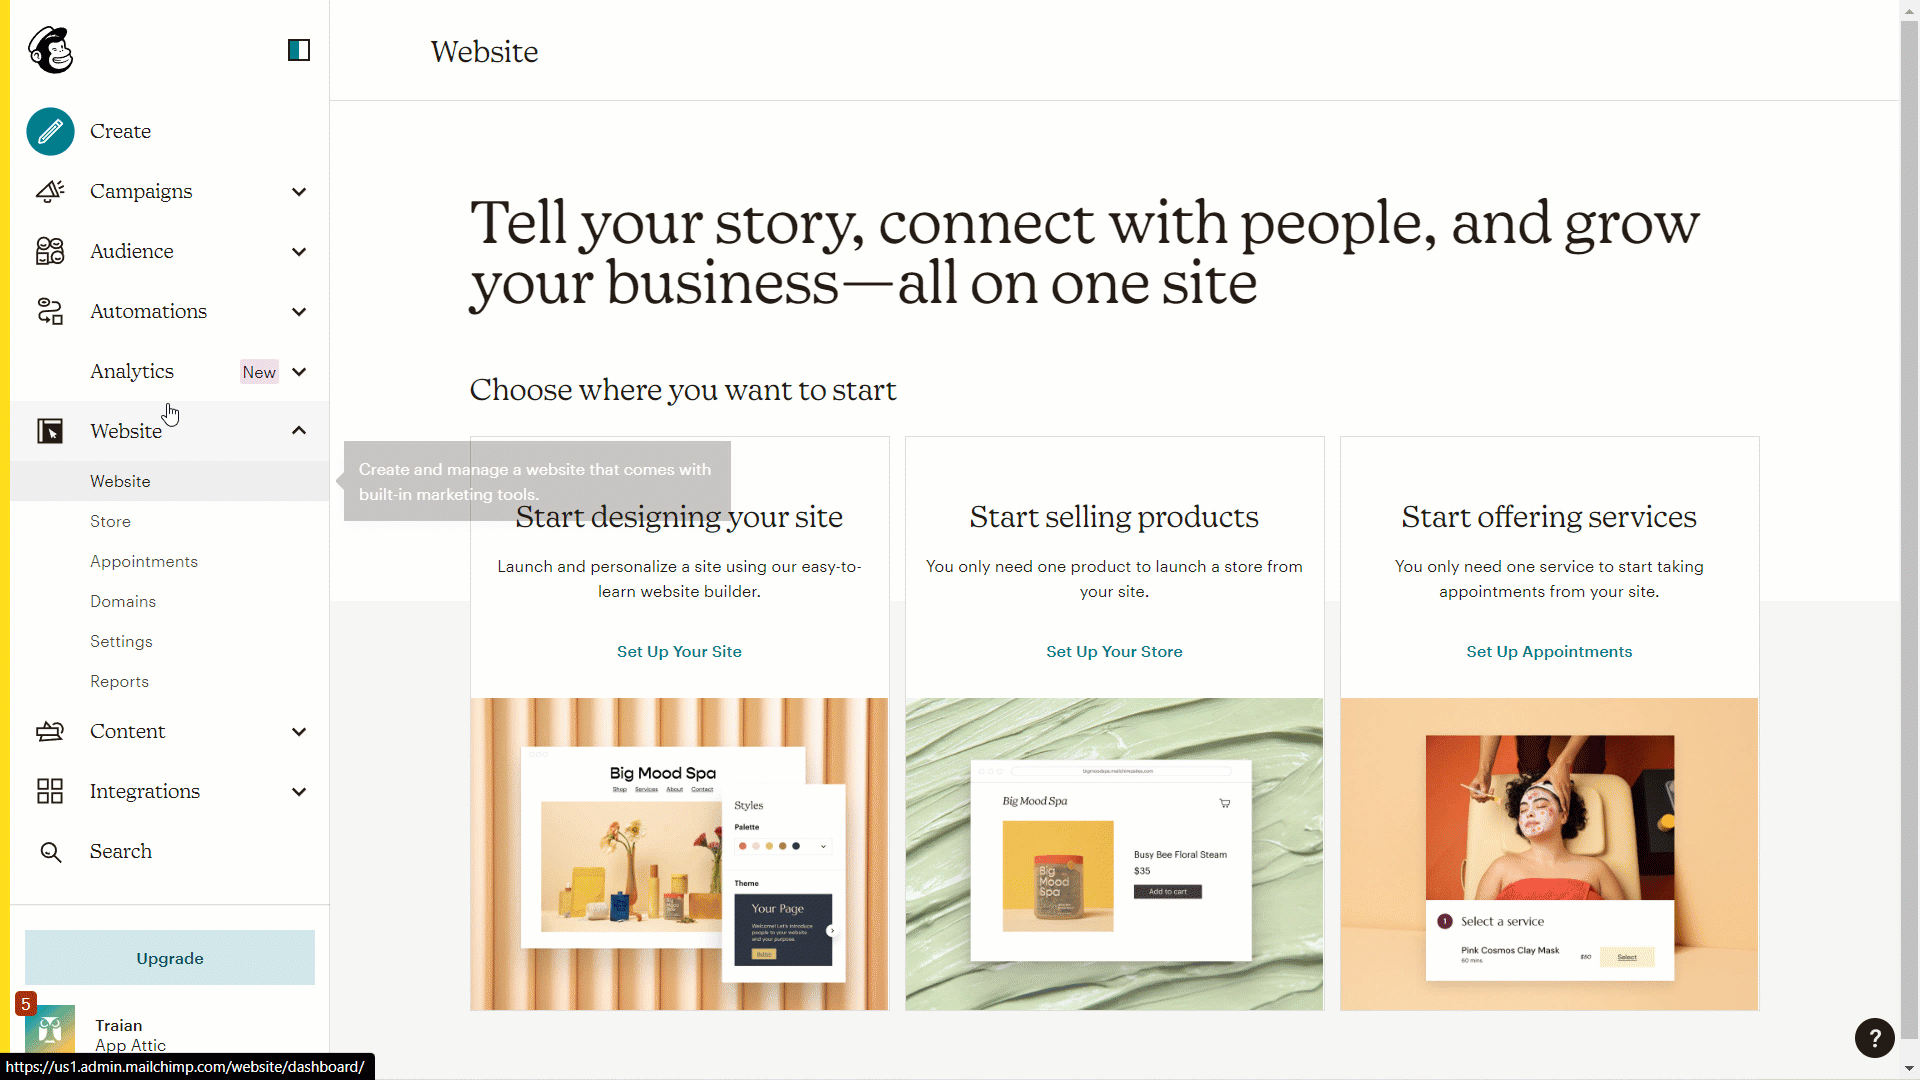
Uploading discount codes onto Mailchimp
Once you have generated your discount codes, the next step is to upload them to Mailchimp.
To make this process easier, we recommend you have an open CSV file with a list of the unique discount codes you plan on using.
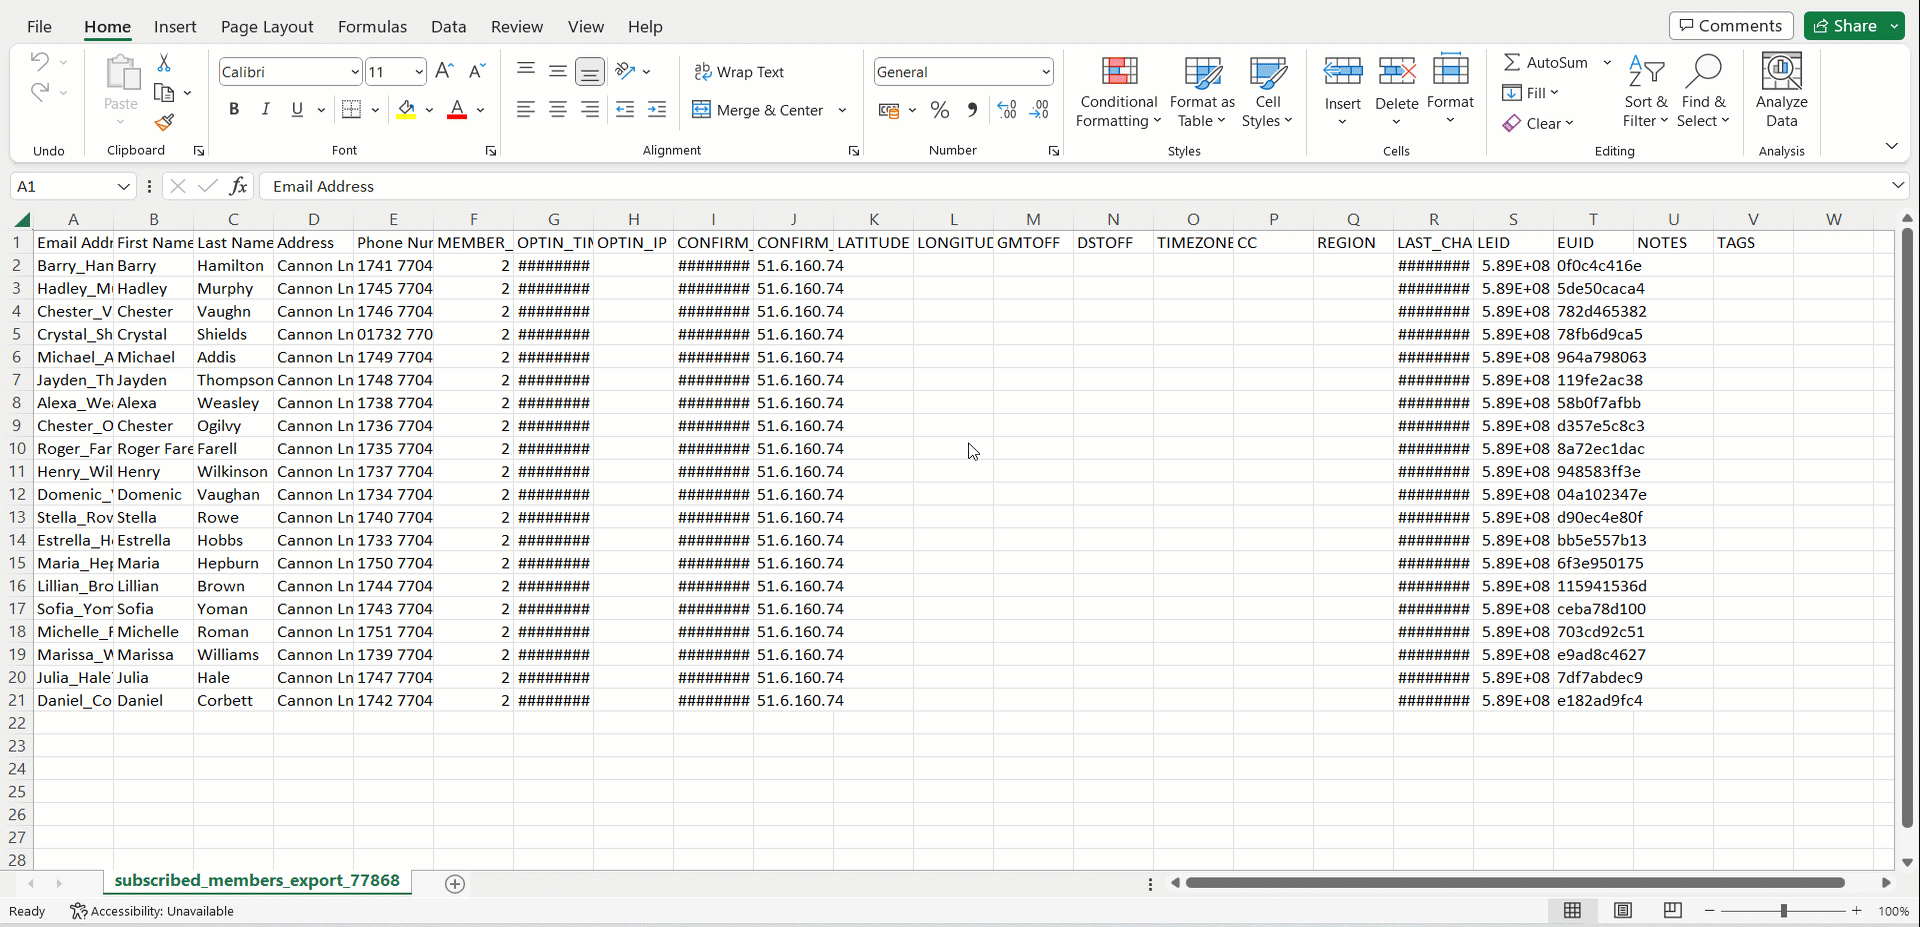
1. Export Audience
To get started, log in to your Mailchimp account and select the relevant audience or contacts you want to send discounts to. Export the audience and save the resulting CSV file.
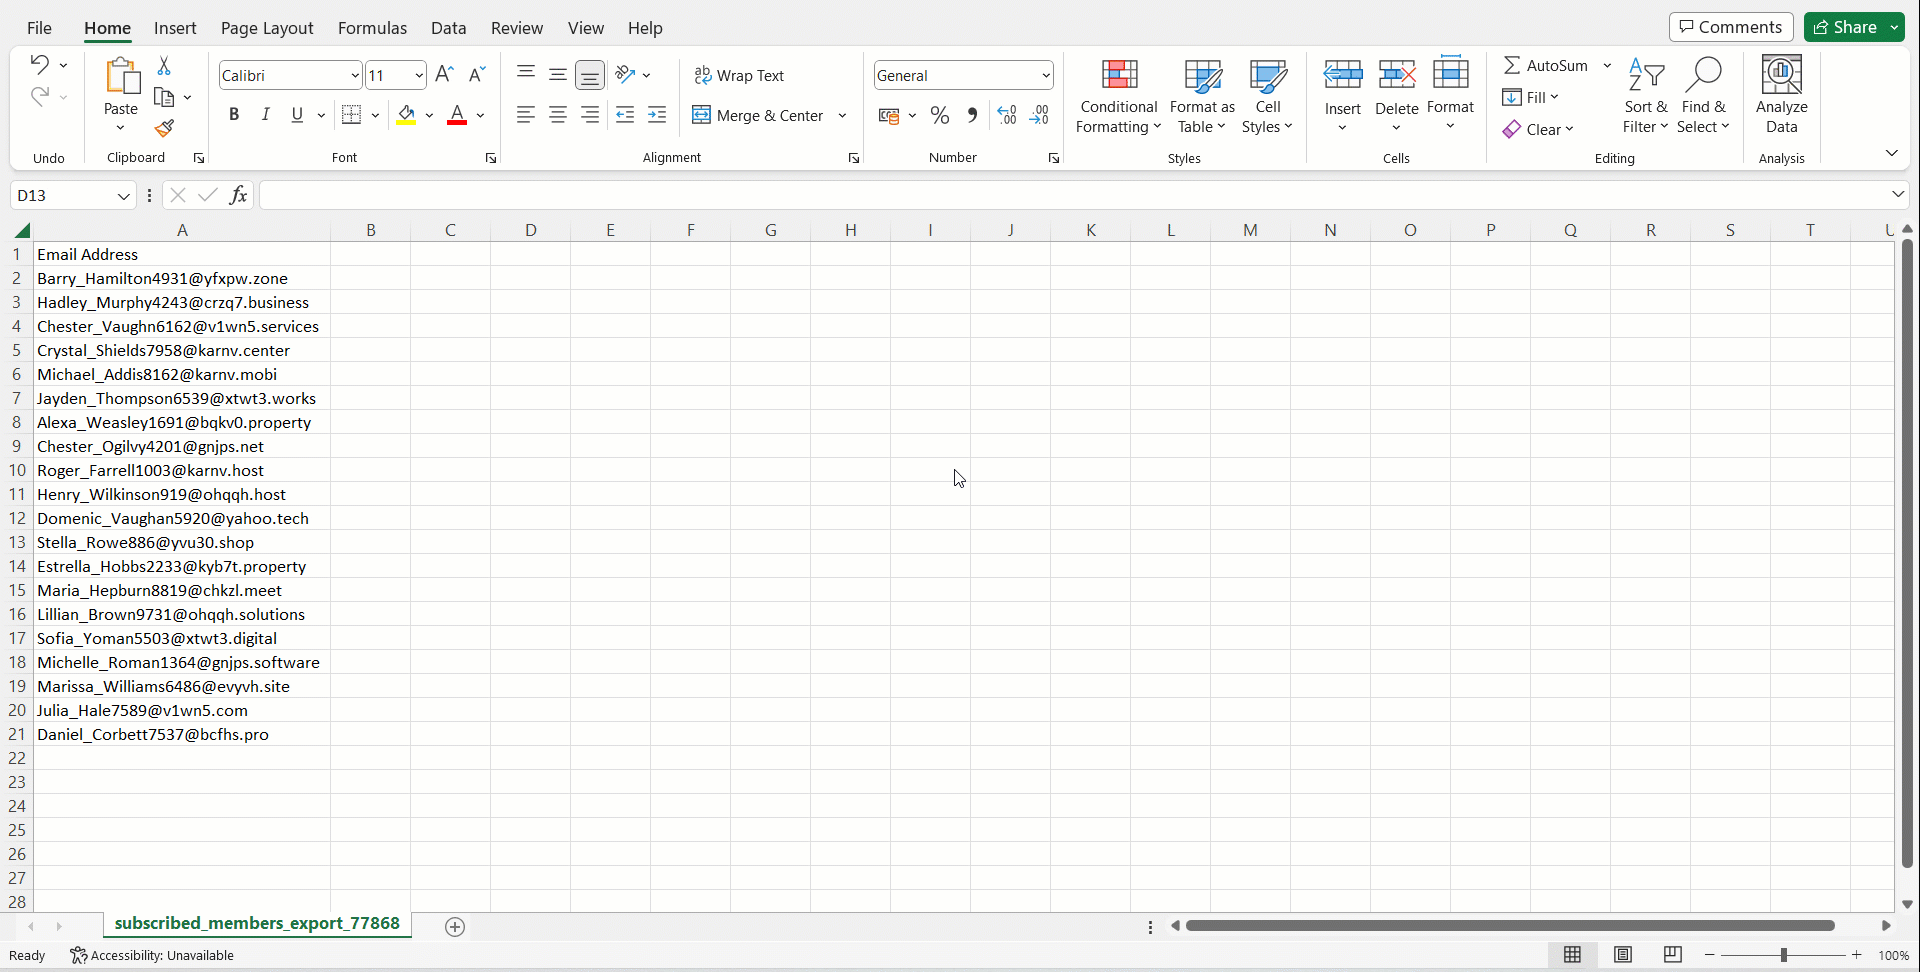
2. Delete all columns in this file except the contact email address
This will make the following import process much quicker.
3. Add your discount codes
Create a new column and give it a relevant, easy to recognize name such as "Discount Code."
Add the discount code for each contact in the "Discount Code" column. Here is where having a CSV file with a list of unique codes ready to copy and paste comes in handy.
When you're finished, save the updated CSV file. Your resulting file should have two columns - one containing each contact’s email and one containing their unique discount code.
4. Import your file back into Mailchimp
To do this use the "Import Contacts" feature. You will be given the option to either upload your saved CSV or copy-paste your two columns( email and discount code) into the import window.
Regardless of the upload method, please make sure to click the Update Existing Contacts button.

5. Create a new discount code merge tag
On the Match column labels to the contact information screen, you will see that your discount code column is flagged in orange. This is because Mailchimp does not recognize it as an existing field. Click on the information icon and select "Create a new field" from the top of the drop down menu. We recommend you also give this a relevant name such as ”DISCOUNT_CODE" .
Finally, complete your upload. Your resulting contact list will now have a new discount code field with a unique coupon.

Send discount codes to your subscribers
The final step in the process of sending individual discount codes to your subscribers is to create a new Mailchimp campaign. To do this:
- Create a new email campaign inside Mailchimp
- In the design stage of building your campaign, you'll want to add the merge tag for your discount code field where you want each person's coupon code to show. To do this, from the "Merge Tag" dropdown select the DISCOUNT_CODE field from the list of available merge tags.
- When you're finished designing your campaign, be sure to test it and make any necessary adjustments before sending it out to your subscribers. Once you're ready, hit the "Send" button!
We hope this guide has been helpful in showing you how to create and send individual discount codes to your Mailchimp subscribers. By using discount codes as a marketing tool, you can drive sales, build customer loyalty, and stay competitive in the e-commerce world. If you're looking for an efficient and effective way to create and manage unique discount codes, we recommend giving Bulk Bunny Bulk Discount Codes a try. With its fast speed and useful features, Bulk Bunny is a great choice for Shopify merchants. Plus, the app comes with a 7-day free trial, so you can test it out and see how it works for your business before committing. Don't wait, start boosting your sales with individual discount codes today!
.jpg)


